Magento 1 Advanced WebApp
Categories
Magento
WordPress
SAP Commerce
Odoo
Shopify
Typo3
Shopware
nopCommerce
Pimcore
Hyvä
OXID eShop


Prerequisites
Magento Community 1.9.3.4
Installation
- Upload the extension files to your store’s root directory using FTP/SSH.
- Login to the backend of your Magento store.
- Clear the cache in System → Cache Management.
- Log out of the backend, and log back in again.
Configuration
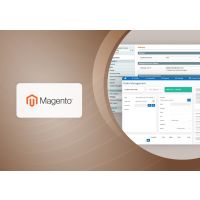
Navigate to System → Configuration → PITS Extensions → Advanced Webapp in your Magento store’s backend.
Extension Configuration
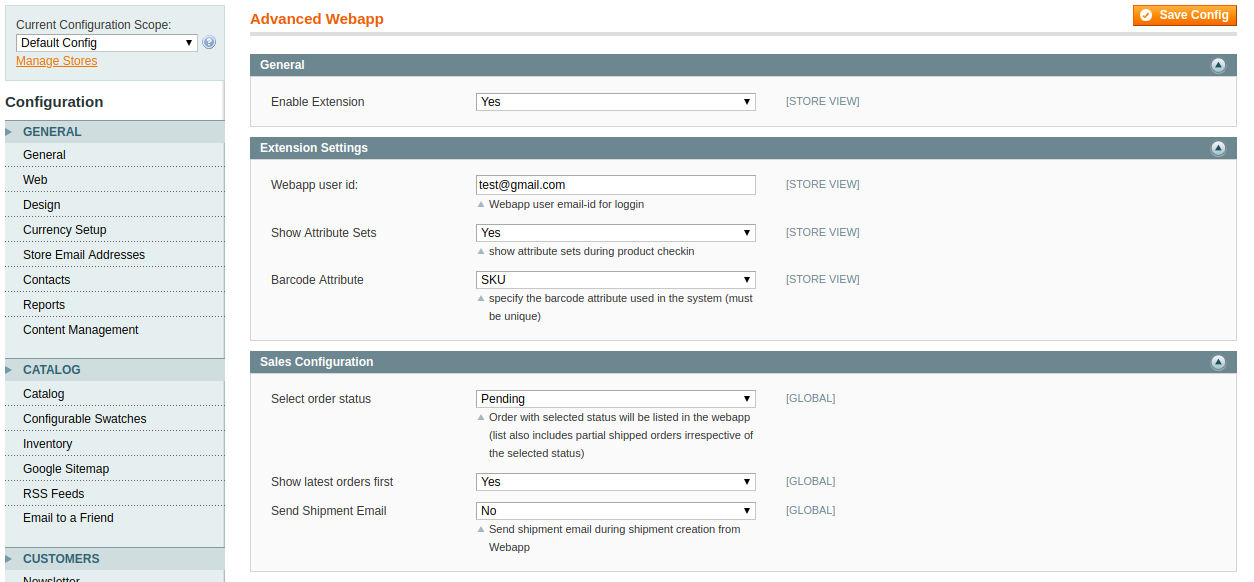
- Enable Extension
Select ‘yes’ to enable extension.
- Webapp user id
Enter the email address of customer who uses webapp. Here, customer refers to the customer account created in the name of the (warehouse) employee who will be working in webapp. The email address of this customer account is used as username here. The password of this customer account will be used as password for logging in webapp. Before creating customer make sure a new website with code as ‘advcdwebapp’ and name as ‘AdvancedWebApp_themes’ is created.
For creating a new webapp customer account, go to Admin > Customers > Manage Customers > Add New Customer. Associate customer to website ‘AdvancedWebApp_themes’.

- Show Attribute Sets
If selected option is YES then attribute set will be displayed in webapp product checkin page. If all products belong to the same attribute set, then set it to 'NO' to reduce an extra step from the checkin process.
If set to 'NO', an additional select will appear below this, enabling selection of the default attribute set to be used for all
checkin products.
- Barcode Attribute
Select unique attribute used to store product barcode.
- Select Order status
select the status of order to be displayed in webapp. The partial shipped orders will be listed irrespective of the selected order
status in webapp.
- Show Latest Order First
Select either YES /NO to sort orders in the webapp.
- Send Shipment Email
select YES, if need to send mail during shipment creation from the webapp else choose option as NO.
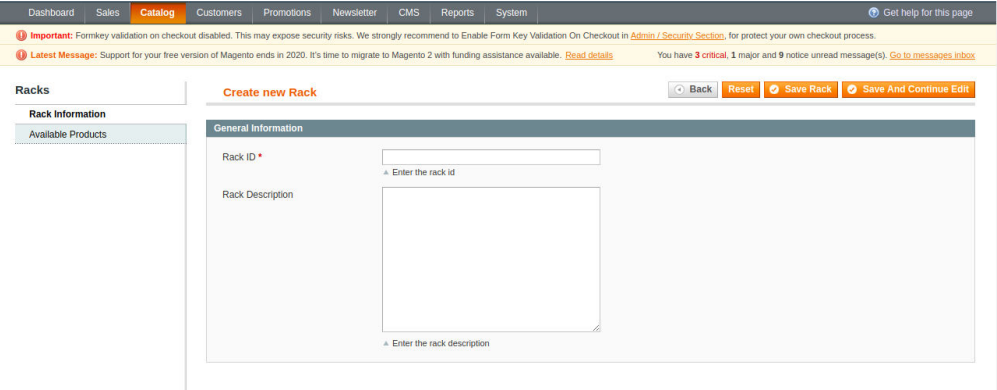
Creating new Rack
For Creating Rack, click on Catalog -> Warehouse Management -> Create New Rack. Enter Rack Id and Rack Description. If using Barcode for racks, enter barcode number of rack in the Rack ID field.
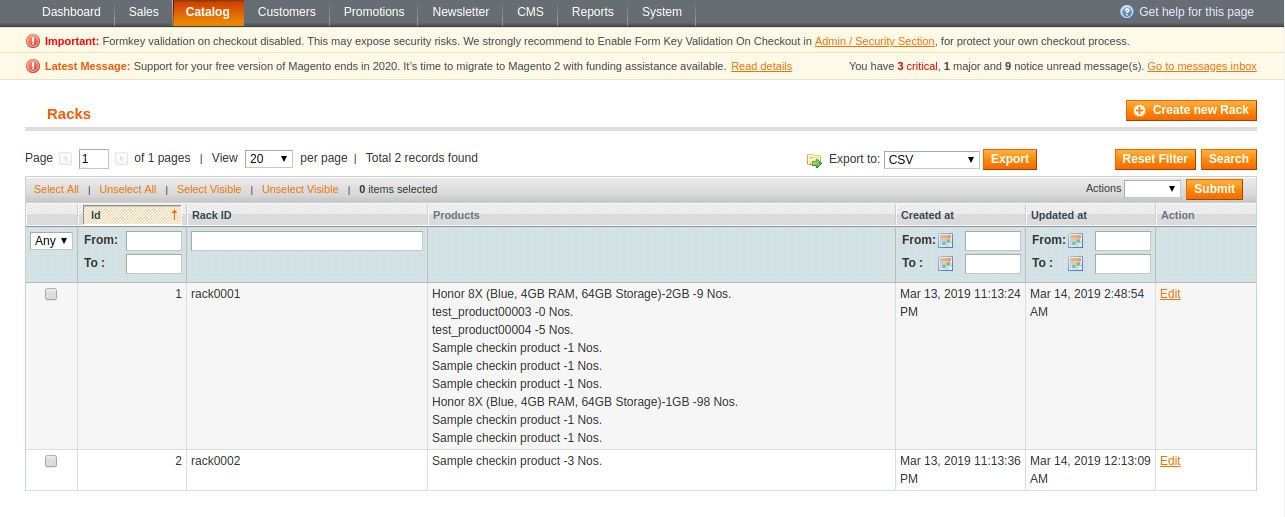
Rack listing
Navigate to Catalog -> Warehouse Management -> Racks.
Apply default theme
Apply ‘advcdwebapp/default’ theme to AdvancedWebapp_themes website.
Choose Language
Choose German/ French language at System → Configuration → General → Locale Options for the current store.
Make sure the module is properly configured before attempting to use the webapp functionality.
Using the Extension
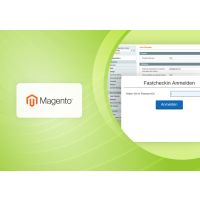
Login
- Enter url assigned for website ‘AdvancedWebapp_themes’
- Enter password of warehouse employee(customer account) used in webapp configuration to login
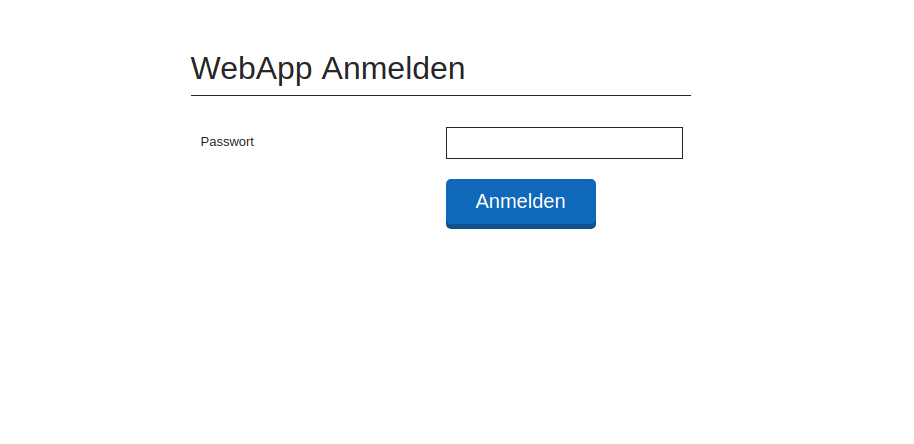
Following page will appear on successful login
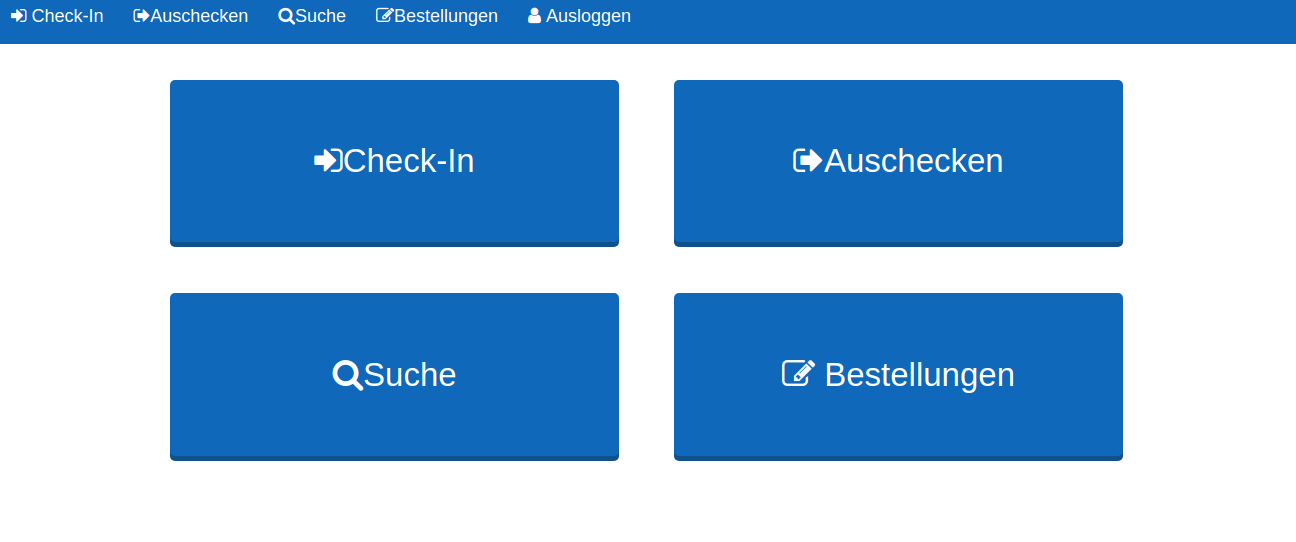
Checkin
Click on checkin menu.
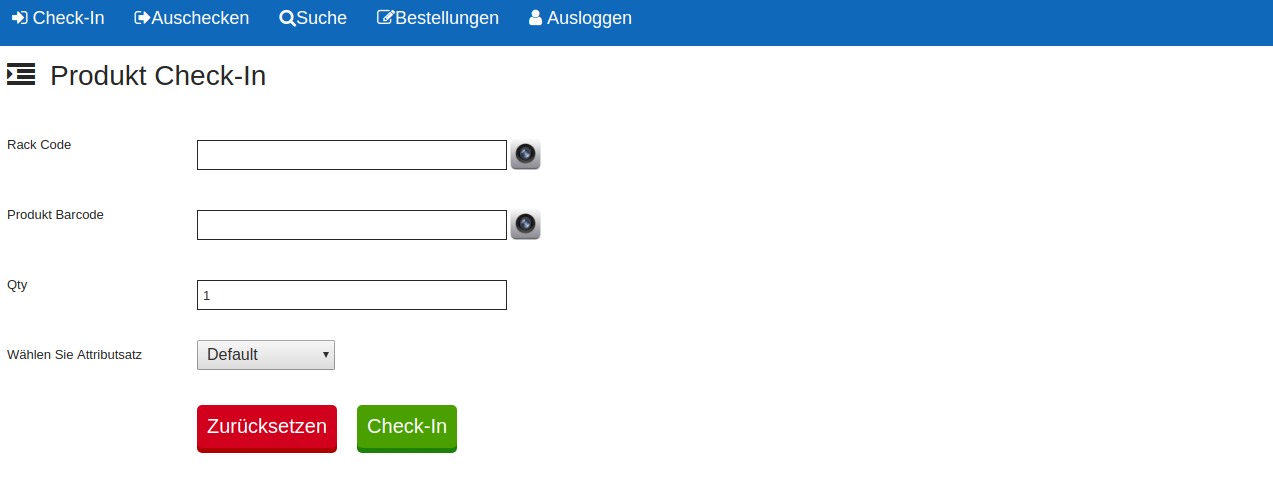
- Rack Code
Enter/Scan Rack ID of rack to which product to be checked in. Rack ID is the unique value entered while rack creation in admin
- Product Barcode
Enter/Scan product barcode.
This value will be saved in barcode attribute selected in webapp extension configuration.
- Qty
Enter quantity to checkin
- Select Attribute set
This field will be only visible if ‘Show Attribute Sets’ is set as ‘yes’ in webapp extension configuration. If available, choose attribute set for checkin product.
Click ‘checkin’ button .
If a product with same barcode exits, its magento inventory and warehouse inventory will be updated else a new product will be created. The product will be assigned to rack with entered rack id.
Checkout
Click checkout menu to checkout a product from inventory.
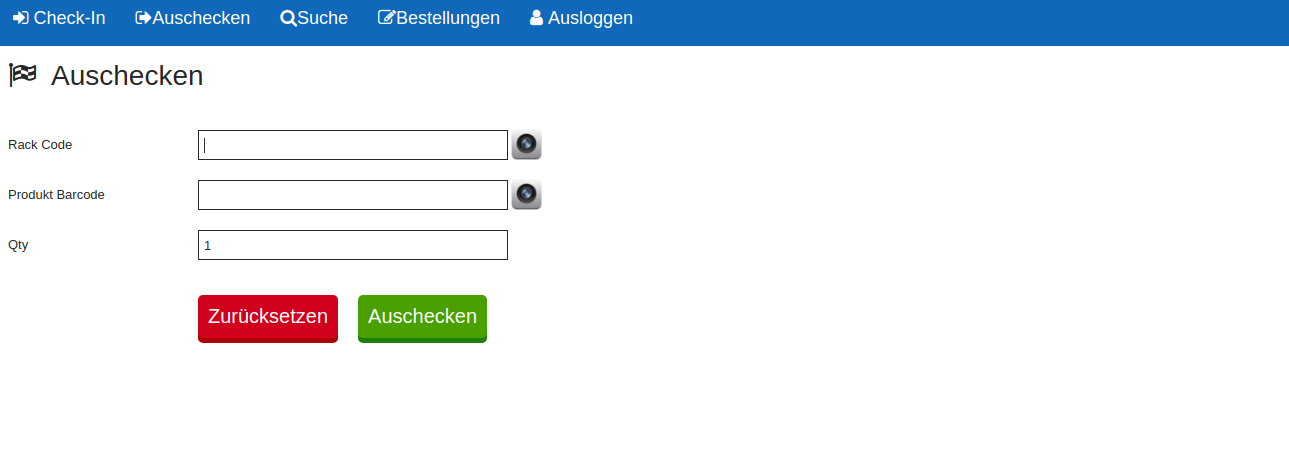
Enter Rack ID, product barcode, quantity to checkout and click checkout. When a product is checked out, warehouse as well as magento Inventory be updated. Click on camera icon to scan barcode. If using mobile device barcode accuracy depends on image quality. Supported barcodes: code128, code39, ean13, upc a.
Barcode is product attribute (Barcode attribute chosen in extension configuration) value.
Search
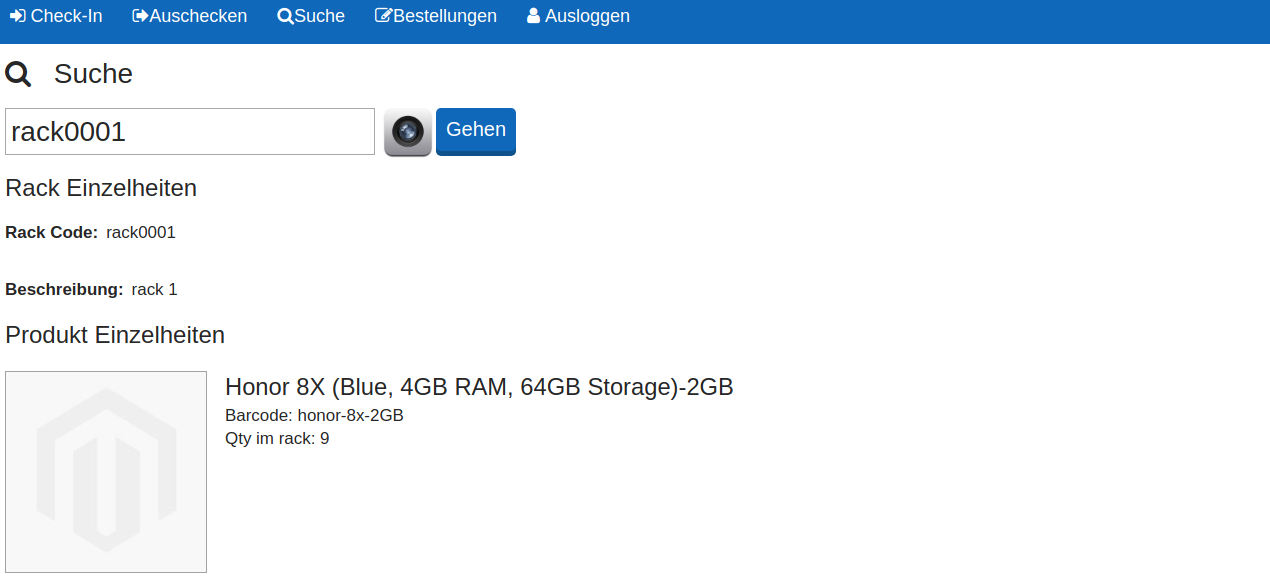
Click on Search menu. Enter/Scan Rack ID and click go button to get rack information.
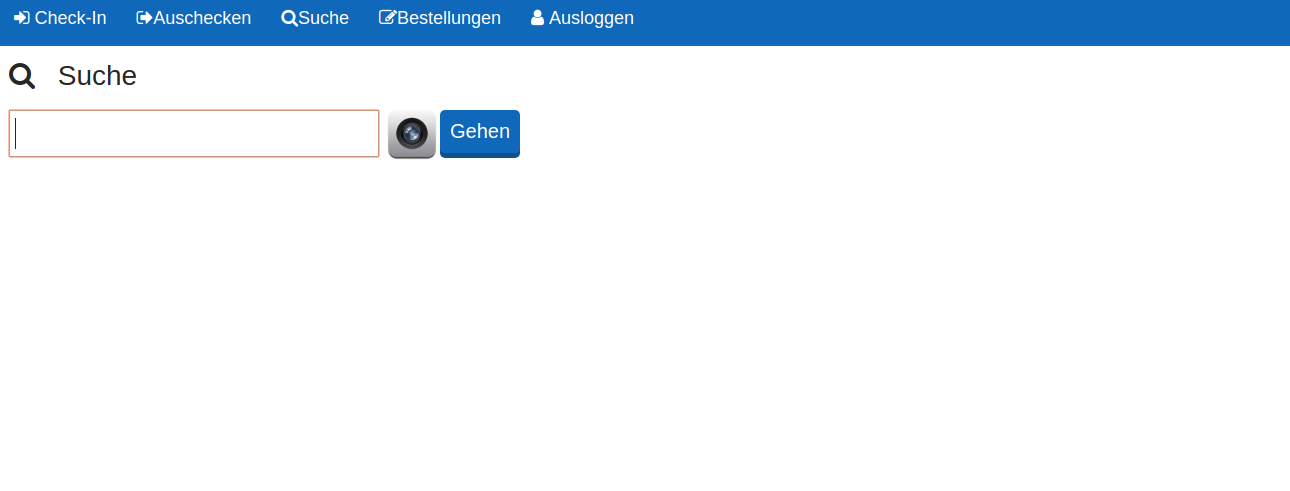
Figure below shows a sample rack search result.
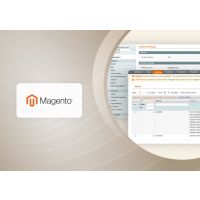
Orders
Click on orders menu to list orders. Orders with selected status(admin configuration) will be listed.
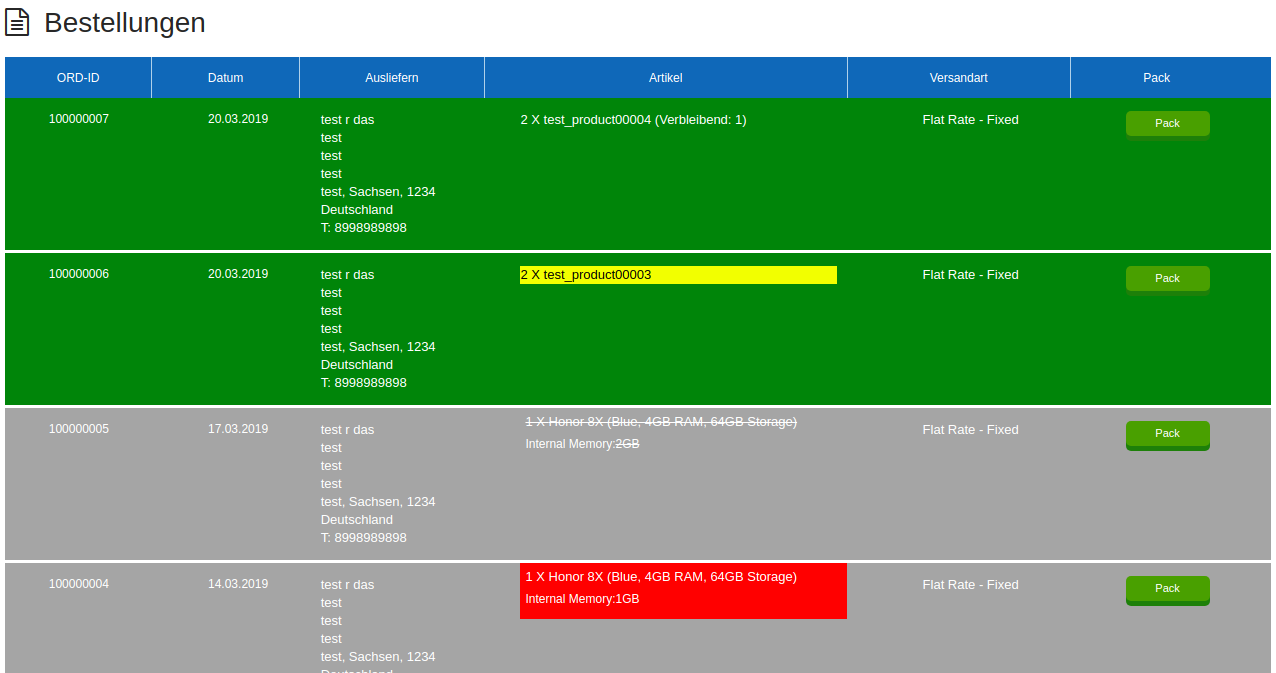
In the sample order page shown above, for the order (100000007) - ‘2 X test_product00004 (Remaining: 1)’ means out of two products ordered, one product is checked out and shipped, and one remains for to be shipped.
Strike out indicates all items checked out from the warehouse.
Color codes can be used to indicate relation between quantity available and quantity ordered.
To enable color codes:
- Navigate to system > configuration > catalog > inventory > stock options
- set ‘Decrease Stock When Order is Placed’ to ‘No’
Color codes:
- Red - Items is out of stock in inventory
- Yellow - backorder is enabled in for that product and ordered quantity is greater than available quantity.
- Green – backorder enabled in admin configuration or quantity available is greater than quantity remaining to ship.
Create Shipment
Click on ‘pack’ button to create shipment for an order in the order listing page. Use scan/manual mode to checkout products.
- Scan mode
Selected mode is indicated by yellow color.
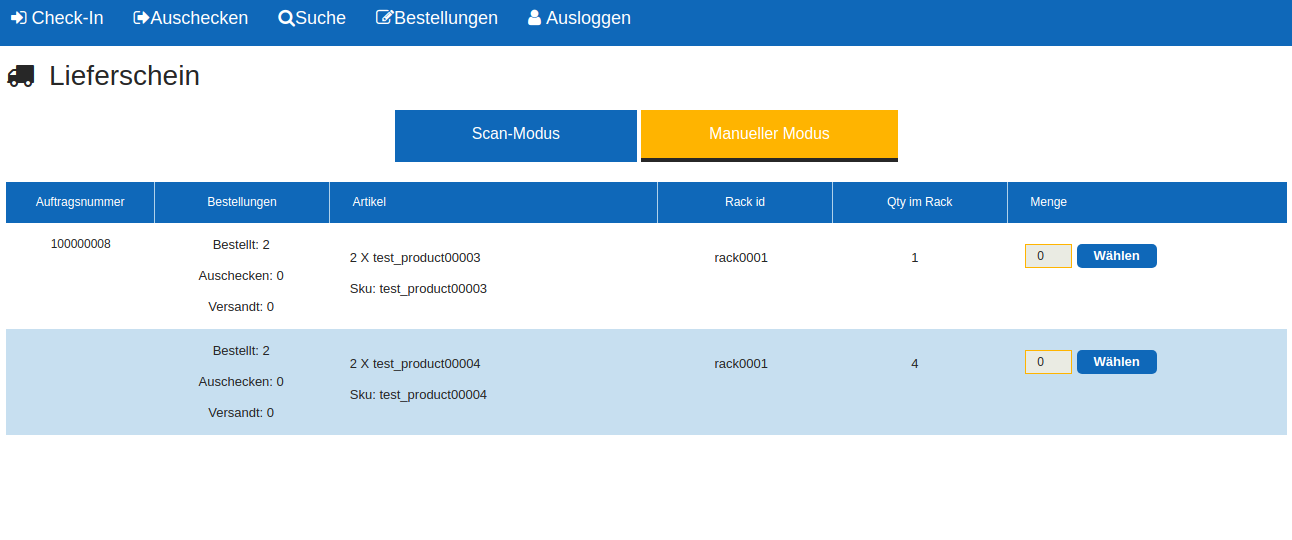
Click on ‘select’ button. Scan Rack ID and product barcode using mobile device. Enter quantity manually or use mobile device to scan again the product. When atleast one product quantity is entered, ‘checkout’ button will appear. Click on checkout button to checkout required quantities from corresponding rack.
Manual mode

Similar to scan mode, click ‘select’ button, choose quantities to checkout from required rack and click on ‘checkout’ button. After successful checkout a success message will be displayed as shown below.
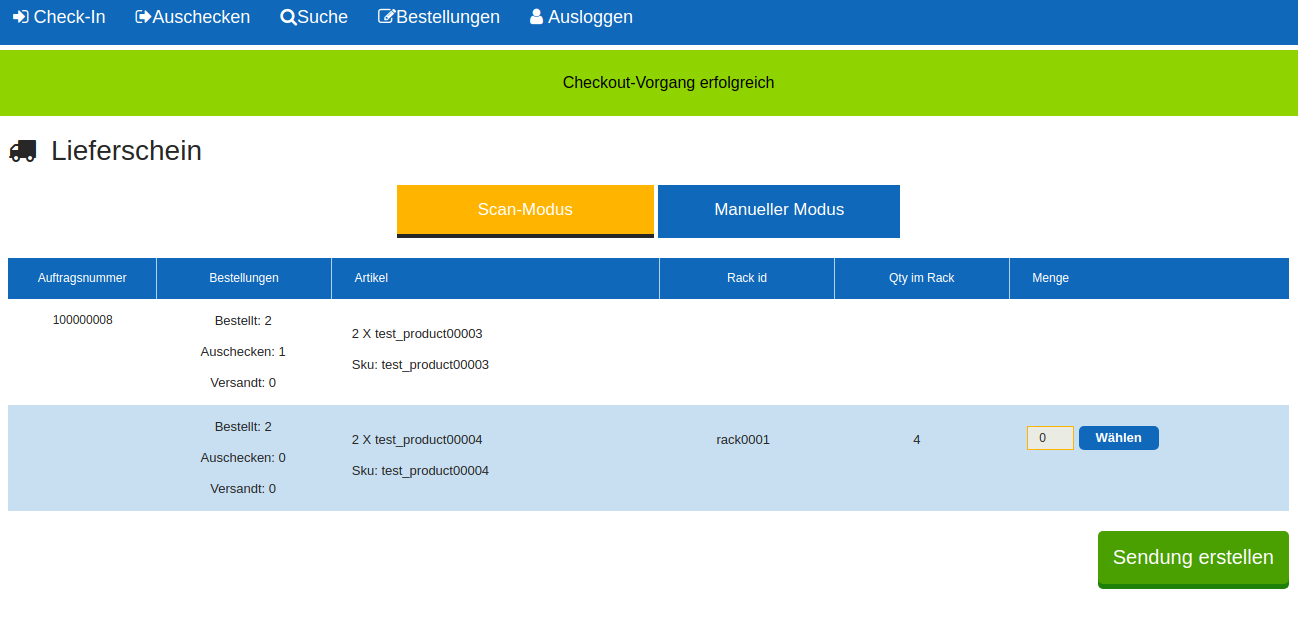
On checking out at least one product, ‘ship’ button will appear. Click on the button to create shipment with checked out products.
Logout
Click ‘Logout’ button to logout from webapp.
Changing product quantity in admin panel does not reflects quantity in webapp rack and vice versa. Accuracy of barcode scanner depends on device’s camera, focusing and proper lighting in the room. Supported barcode types- upc a, ean13, code128, code39.
Product specification
Advanced Webapp extension gives ability to manage stock by racks of a warehouse. This will facilitate those people that has single warehouse where products are managed in rack system.
Features
- rack level stock management system
- fast check-in products to racks
- fast checkout products from racks
- attributeset selector for fast checkin products
- option to scan rack code or product code by mobilephone camera
Technical Requirements / Compatible with:
Magento Community 1.9.3.2
DEMO
htaccess:
username: pitsuser
password: pitsgmbh
Demo Webapp page: http://demo.mypits.org:10036/themes/
password: webappuser123
Admin url : http://demo.mypits.org:10026/themes/shopadmin/
user name: webappuser
password: webappuser123
Supported Languages
English, German, French
Change Log / Release Notes
Version: 1.0.0: November 25, 2018
- rack level stock management system
- fast check-in products to racks
- fast checkout products from racks
- attributeset selector for fast checkin products
- option to scan rack code or product code by mobilephone camera
Support
If you have questions use our contact form in webshopextension.com.